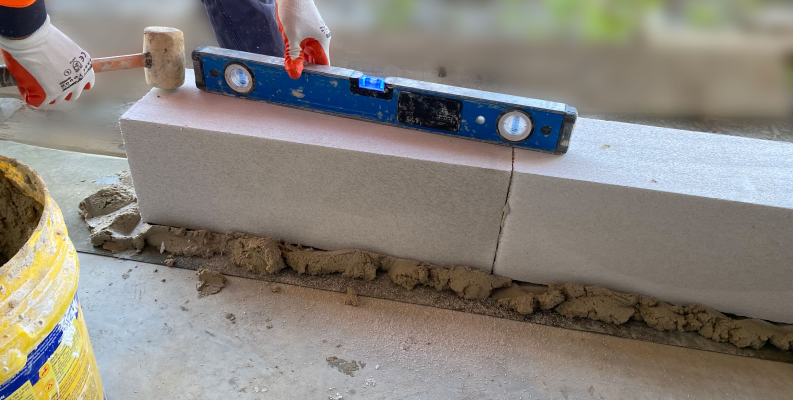
Step by step guide
Step 1 - Hebel Mortar for the base course bed
Use Hebel Mortar for the base course bed (a standard brickwork mortar mix is suitable).
Please note: the supporting structure is to be designed to full masonry standards by a practising engineer if building a Hebel PowerBlock wall.
Step 2 - Lay a damp proof course
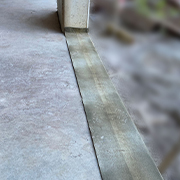
Lay a damp proof course (DPC) slip joint membrane on the horizontal surfaces where the Hebel® Blocks will be laid.
This will allow for differential movement between the blocks and footings.
Install the DPC prior to the application of the Hebel Mortar.
Step 3 - Lay Hebel Mortar for first course
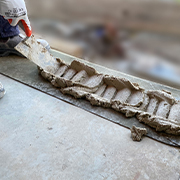
Lay Hebel Mortar to get the first course of blocks straight and level.
Brush all loose particles and dust from the base, top and ends of each Hebel PowerBlock to be laid.
Step 4 - Mix Hebel Adhesive

Mix Hebel Adhesive using the directions on the bag.
Step 5 - Accurately position a Hebel PowerBlock
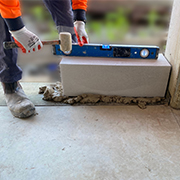
Accurately position a Hebel PowerBlock horizontally and tap into place with a rubber mallet, ensuring the block is level in all places.
Step 6 - Apply Hebel Adhesive
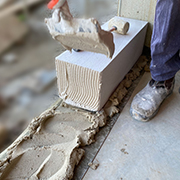
Apply Hebel Adhesive to the end of the base block using a notched trowel.
Step 7 - Position the next block adjacent to the first block
Position the next Hebel PowerBlock adjacent to the first, and with a rubber mallet, gently tap the block end horizontally to fully close the vertical joint.
All joints should be 2-3mm.
Step 8 - Tap the second block down into the base mortar
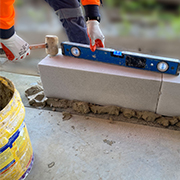
Now tap the second block down into the base mortar, making it level with the first block.
Step 9 - Repeat
Repeat until the first course is complete.
Step 10 - Start Second course
Each Hebel PowerBlock joint of the second course must overlap the joints of the first course by at least 100mm.
Step 11 - Apply Hebel Adhesive to the topside of the first course
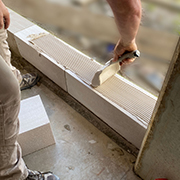
Apply Hebel Adhesive to the topside of the first course using a notched trowel.
Step 12 - Position the first block in the second course
Position the first block in the second course and gently tap accurately into place with a rubber mallet. All joints should be 2-3mm thick.
Step 13 - Apply Hebel Adhesive to the end of the first Hebel PowerBlock
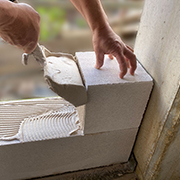
Apply Hebel Adhesive to the end of the first Hebel PowerBlock.
Position the next block adjacent to the first, and with a rubber mallet, gently tap the block end horizontally to fully close the vertical joint.
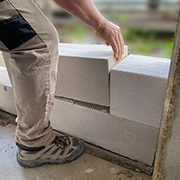
Step 14 - Tap the top of the block until level with the previous blocks
Tap the top of the block until level with the previous blocks laid.
Step 15 - Repeat
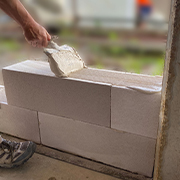
Repeat for subsequent blocks.
Step 16 - Clean any excess adhesive off the block
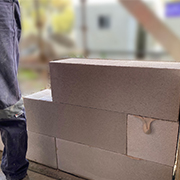
Clean any excess adhesive off the block face at the end of each course, no longer than 1-2 hours after laying the first Hebel PowerBlock.
Step 17 - Patch
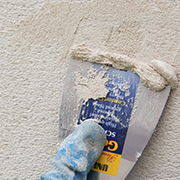
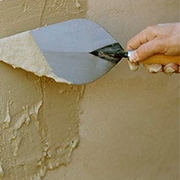
Large holes can be patched using Hebel Mortar.
Step 18 - Sand and render
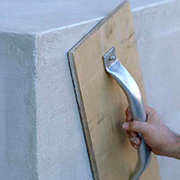
Sand and render your project.
- Hebel blocks
- Poly damp proof course (DPC)
- Hebel mortar
- Hebel adhesive
- Spirit level
- Notched trowel
- Rubber mallet
- Sweeping brush
- Stirrer for electric drill
Safety information
Your health and safety is the number one priority. It’s important to understand how to work safely with Hebel to minimise your risk, and prepare ahead when handling, cutting, sawing, abrading, chasing or crushing Hebel panels and blocks. Please refer to the Working Safely with Hebel page for a guide on best safety practices.
Find a...
We have a network of suppliers ready to help you get your project up and running.
